

In the realm of survival and wilderness skills, shelter construction is one of the fundamental pillars of self-reliance. The ability to create a shelter from natural materials or tarps can be a lifesaver in emergencies, whether you find yourself lost in the wilderness, caught in a sudden storm, or facing an unexpected survival situation. In this comprehensive guide, we will delve into the art of shelter construction, exploring various shelter types, essential principles, and the critical skills required to build a shelter that provides protection from the elements and ensures your survival.
The Importance of Shelter
Shelter is one of the primary elements of the survival hierarchy, commonly referred to as the “Rule of Threes.” According to this rule, a person can typically survive:
1. Three minutes without air.
2. Three hours without shelter (in extreme conditions).
3. Three days without water.
4. Three weeks without food.
Clearly, shelter plays a pivotal role in increasing your chances of survival when exposed to harsh environmental conditions. It shields you from extreme temperatures, wind, rain, and snow, preserving body heat and reducing the risk of hypothermia and other weather-related illnesses.
Types of Shelters
Survival shelters come in various forms, each designed to suit different circumstances and available resources. Here are some common types:
Lean-to Shelter
– A simple and effective shelter constructed by propping a long pole or ridgepole against a supporting structure like a tree or rock.
– A tarp or natural materials like branches, leaves, or bark can be used to create a slanted roof.
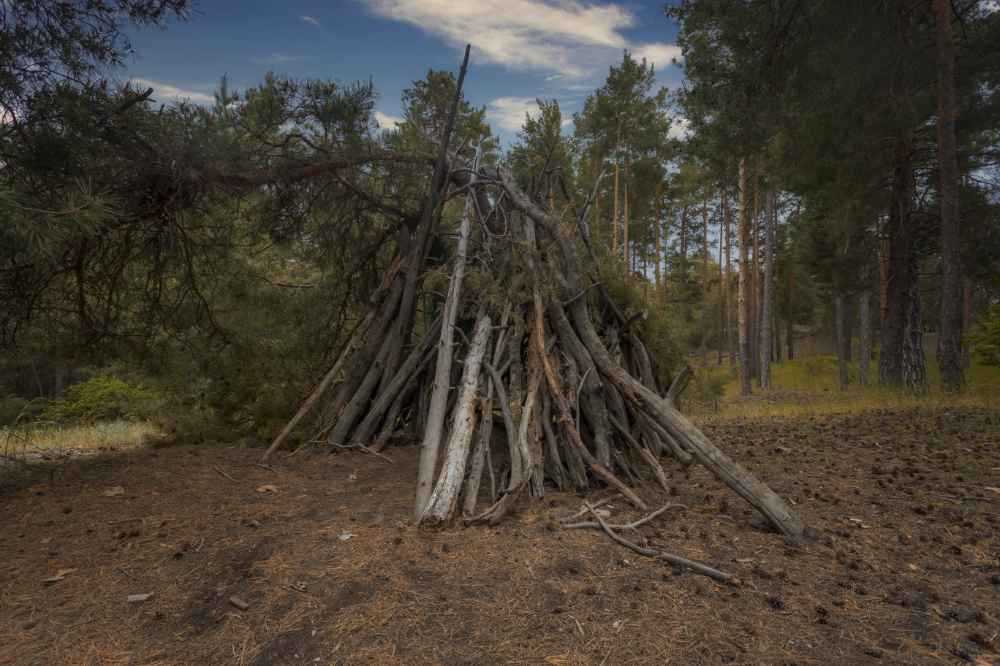
A-frame Shelter
– Similar to a lean-to but with two diagonal supports forming an “A” shape.
– Provides better protection from rain and wind compared to a basic lean-to.
Debris Hut Shelter
– A more substantial shelter that involves creating a frame from branches and covering it with leaves, grass, or other insulating materials.
– Well-suited for cold environments and can provide excellent insulation.
Tarp Shelter
– Quick and versatile, tarps can be configured into numerous shelter designs, such as a tarp tent or tarp lean-to.
– Ideal for situations where natural materials may be scarce or when you need rapid shelter.
Snow Cave/Igloo
Effective in snowy environments, these shelters are dug into snowbanks or built from blocks of snow and ice.
Provides excellent insulation against cold temperatures.
Essential Principles of Shelter Construction
Regardless of the type of shelter you choose to build, several key principles should guide your construction:
Location
Choose a shelter location that is dry, protected from wind, and close to resources like water and food.
Avoid areas prone to flooding or avalanche risk.
Materials
Gather materials in advance, such as branches, leaves, grass, or tarps, before starting construction.
Ensure your materials are dry and free from pests or contaminants.
Size and Comfort
Make the shelter just large enough for you to fit comfortably, as smaller shelters are easier to heat with your body heat.
Create a raised bed or insulating layer to sleep on to avoid direct contact with the cold ground.
Ventilation
Proper ventilation is essential to prevent condensation inside the shelter, which can lead to dampness and discomfort.
Leave a small gap or vent at the top of the shelter to allow for air circulation.
Secure and Stable Structure
Ensure your shelter is sturdy and stable to withstand wind and other weather conditions.
Use lashings, knots, or cordage to secure structural elements together.
Building a Lean-to Shelter
One of the simplest and most effective shelter types for survival is the lean-to. It provides protection from wind and rain and is relatively easy to construct. Here’s a step-by-step guide on building a lean-to shelter:
One of the simplest and most effective shelter types for survival is the lean-to. It provides protection from wind and rain and is relatively easy to construct. Here’s a step-by-step guide on building a lean-to shelter:
Materials Needed:
- A long pole or ridgepole (approximately 8-10 feet)
- Two shorter support poles
- Cordage or rope
- Tarps, ponchos, or natural materials for the roof
Steps For Building a Lean-to Shelter:
Select a Location For Your Lean to
Find a suitable location with a solid anchor point (a tree, rock, or another sturdy object) to serve as the ridgepole’s support.
Set Up the Ridgepole
Lean one end of the long pole against the anchor point to create the roof’s slope. Angle it at about a 45-degree angle to the ground.
Position Support Poles
Place the two shorter support poles at an angle, connecting the top of the ridgepole to the ground. These will provide stability for your shelter.
Attach Cordage
Secure the ridgepole and support poles in place using cordage or rope. Make sure they are firmly anchored and won’t collapse easily.
Cover the Roof
Use your chosen roofing material, whether it’s a tarp, poncho, or natural materials like leaves and branches, to cover the roof frame. Overlap the materials to ensure a waterproof seal.
Insulate the Floor
To minimize heat loss, insulate the ground with leaves, grass, or other debris to create a comfortable sleeping area.
Personalize and Test the Shelter
Make any necessary adjustments based on your body size and the local conditions. Lie down inside the shelter to ensure it fits comfortably.
Tarp Shelter Construction
Tarps are versatile and excellent for constructing quick, weatherproof shelters. They are especially handy in situations where natural materials might be scarce. Here’s a guide to creating a basic tarp shelter:
Materials Needed:
- Tarp (choose an appropriate size for your shelter)
- Cordage or rope
- Stakes (optional, for securing the tarp to the ground)
Steps for Tarp Construction:
1. Select a Location:
Find a level and well-drained area for your shelter, and ensure there are no hazards overhead, like dead trees or branches.
2. Lay Out the Tarp:
Lay the tarp flat on the ground with one side parallel to the wind direction, if possible.
3. Create Support Structures:
For a basic lean-to tarp shelter, you can tie one corner of the tarp to a tree or secure it using a makeshift support structure.
Pull the tarp tight and secure the opposite corner to the ground using stakes or additional support.
4. Adjust for Weather Conditions:
If it’s raining or windy, consider using rocks, logs, or branches to anchor the edges of the tarp to the ground for added stability.
5. Secure and Seal:
Ensure that the tarp is securely fastened and provides complete coverage to protect you from the elements.
In Conclusion
Shelter construction is a critical skill for anyone venturing into the outdoors or preparing for survival scenarios. Whether you choose to build a shelter from natural materials or utilize a versatile tarp, the ability to provide protection from the elements can make all the difference in your ability to survive and thrive in challenging conditions. Practice and experience are key to mastering this art, so take the time to refine your shelter-building skills, and you’ll be better equipped to face unexpected challenges and emerge from them with confidence and resilience. Remember that the knowledge and skills you acquire today could one day save your life.